Editor guide · 2 min read
The background is gone. Now make it yours.
Removing the background is just step one. The editor gives your cutout a whole studio — new backdrops, your own photos, filters and effects. Here's everything you can do.
One cutout, three looks — transparent PNG, gradient backdrop with shadow, sticker style on dark studio.
Swap the background
Open the Background tab and pick a treatment: keep it transparent, choose from 24 solid shades or any custom color, apply a gradient, or place your subject on a studio backdrop. Every change previews instantly on the canvas.
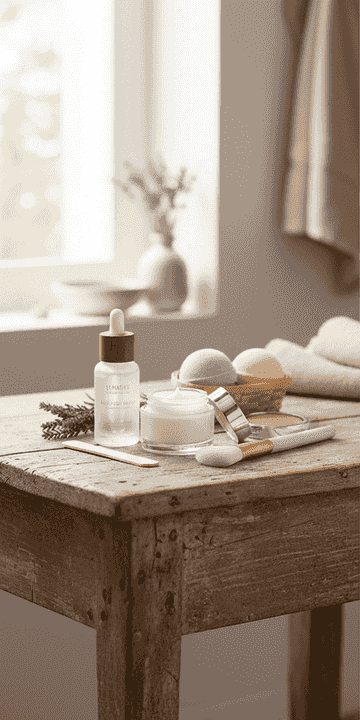
Bring your own scene
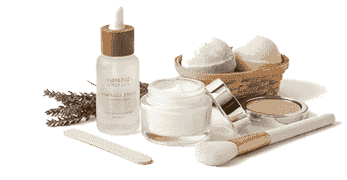
Under Photo, upload any image as your backdrop — a beach, your office, a product shelf. Or pick Blur to keep your original scene softly out of focus behind the subject, the classic portrait look.
Dial in the look
The Effects tab has one-tap filters — B&W, Warm, Cool, Vivid, Fade — plus brightness, contrast and saturation sliders for fine control. A vignette slider darkens the edges to draw the eye in.
B&W
Warm
Vivid
Drop shadow
Sticker outline
Make it pop
Add a soft drop shadow so the subject sits naturally on its new background, or switch on the sticker outline — adjustable width in white, black or green — for thumbnails, stickers and social posts.
Download & share
Export your finished image as a PNG in Original, HD 2048px or Super HD 4096px — everything you composed, backgrounds and effects included. Hold Compare anytime to check against the original, and share straight to WhatsApp, Facebook or X.
Ready to try it?
Upload an image — the background is gone in seconds, then the studio is yours.
Open the editor